Subtotal (1 unit)*
₩237,627.00
재고있음
- 4 개 단위 배송 준비 완료
- 추가로 2026년 5월 12일 부터 1 개 단위 배송
더 자세한 내용이 필요하신가요? 필요한 수량을 입력하고 '배송일 확인'을 클릭하면 더 많은 재고 및 배송 세부정보를 확인하실 수 있습니다.
수량 | 한팩당 |
|---|---|
| 1 + | ₩237,627.00 |
* 참고 가격: 실제 구매가격과 다를 수 있습니다
- RS 제품 번호:
- 136-3545
- 제조사 부품 번호:
- HB0 100-0
- 제조업체:
- Sauter
사양
참조 문서
제정법과 컴플라이언스
제품 세부 사항
제품 정보를 선택해 유사 제품을 찾기
모두 선택 | 제품 정보 | 값 |
|---|---|---|
| 브랜드 | Sauter | |
| Shore Scale | Shore A0 | |
| Product Type | Durometer | |
| Indenter | Ball Head | |
| Weight | 160g | |
| Display Type | Analogue | |
| Overall Length | 115mm | |
| Standards/Approvals | No | |
| 모두 선택 | ||
|---|---|---|
브랜드 Sauter | ||
Shore Scale Shore A0 | ||
Product Type Durometer | ||
Indenter Ball Head | ||
Weight 160g | ||
Display Type Analogue | ||
Overall Length 115mm | ||
Standards/Approvals No | ||
- COO (Country of Origin):
- CN
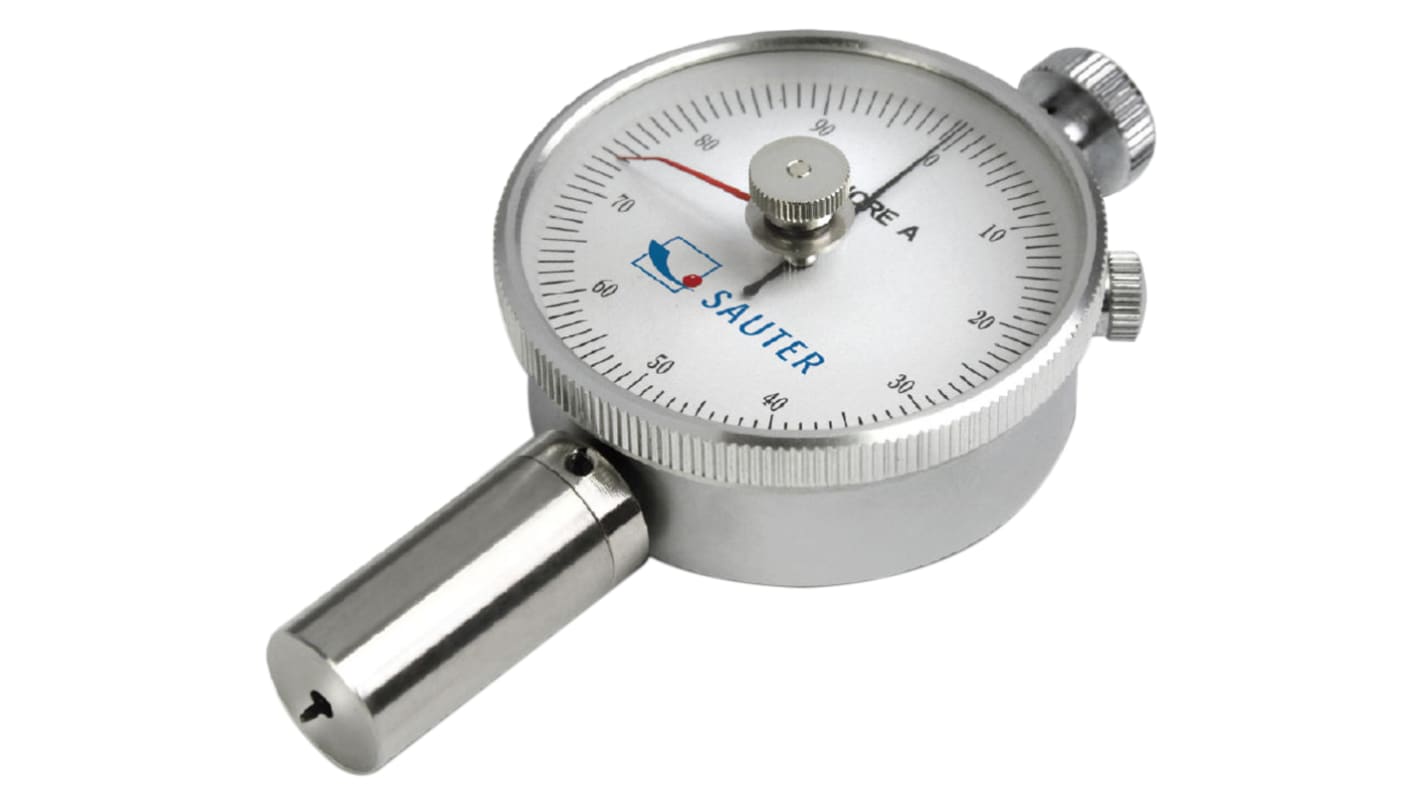
Kern Analogue Shore Hardness Tester
A compact hand held durometer with drag indicator. Ideal for internal comparison measurement. Supplied in a wooden carrying case for safe and secure storage.
Typical Application
• Measurement of penetration (Shore)
Feature and Benefits
• Mechanical shore hardness meter;• For internal comparison measurement. Standard calibrations e.g. to DIN 53505 are often not possible because of narrow standard tolerances;• Shore A: Rubber, elastomers, neoprene, silicone, vinyl, soft plastics, felt, leather and similar material;• Shore D: Plastics, Formica, epoxies, plexi glass etc.;• Shore A0: Foam, sponge etc.;• Max Mode: Holds the maximum value in the display;• Point Mode: Shows one instant value;• Can be attached to test stands SAUTER TI-A0 (for Shore A and A0), TI-D. (for Shore D);• Tester Shore A0
Parallels, Surface Finish & Hardness
Surface Finish
Any machined component has a surface geometry which consists of three basic elements:
Form or Curvature - Whether the surface has irregular bumps or dimensional changes
Waviness - Whether the surface has regular repetitive ripples or patterns (e.g. milling patterns)
Roughness - The shapes or irregularities that are smaller than, and form part of the waviness pattern (e.g. material micro-structure)
Waviness and roughness are traditionally the most difficult elements to measure when comparing surface finish, however, they have a radical effect on the performance of the finished component. Variations will cause aesthetic appearance changes, component wear variations, oil retention variation etc. Many manufacturers therefore specify a range of roughness values which their components should be manufactured to, often expressed as: Ra, Rq (RMS), RzDIN, Ry, Sm,mm.

